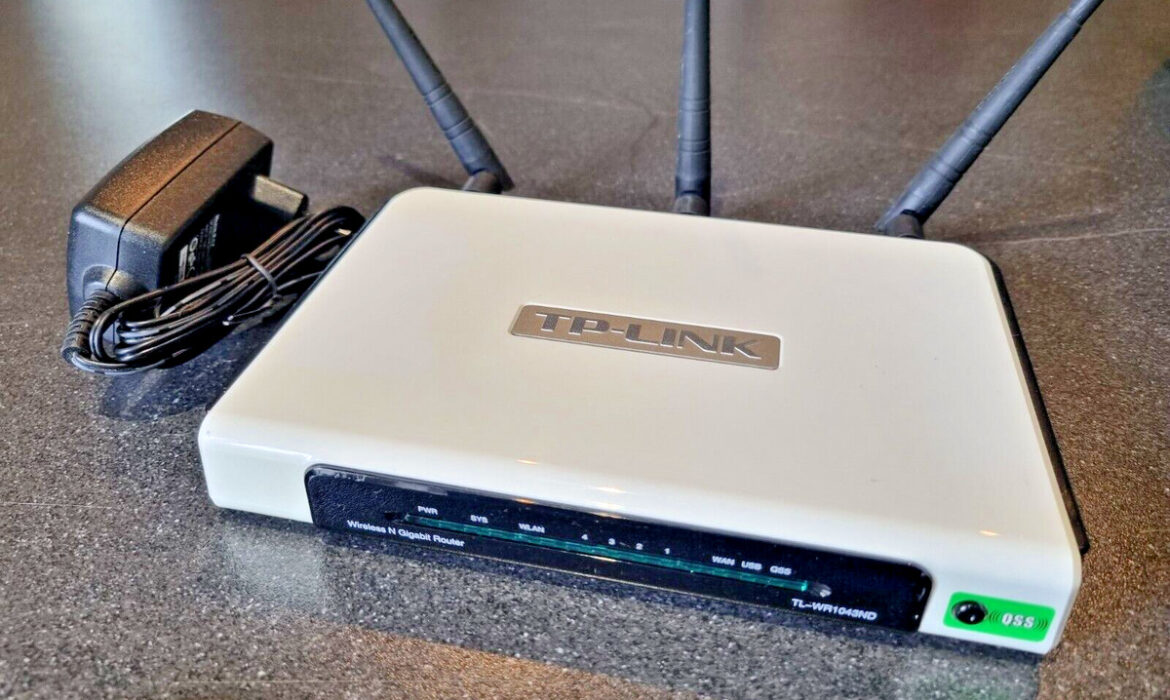
When it involves everyone being in constant communication, having a guest Wi-Fi network is a wonderful way to safeguard your private data while still allowing visitors to use the internet. Whether you’re expecting friends to come over, family members to drop by from out of town, or clients to stop by and meet with you, a guest network will prevent your main network from being hacked. Setting up a guest network on your TP Link router couldn’t be easier. Here’s how you can do it:.
- Access the Admin Panel of Your TP-Link Router
The first thing you will need to do is access the admin interface of your router. Open up your web browser, type in the IP address of your router in the address bar, and log in with your router’s username and password. If you have not changed the defaults, you should find these on the label stuck on to the back of the router or in the manual.
- Enable the Guest Network Option
Once you log into your router’s interface, you will find yourself in the “Guest Network” section of the settings. Here you can create a guest network—a new network for guests. Most models of TP Link allow enabling one or several guest networks. Finally, enable the feature and assign a name (SSID) to your guest network.
Let’s give it a name different from your main network to avoid confusion; a good name for your guest network could be “YourHome_Guest.”.
- Protect Your Accounts with Secure and Unique Passwords
A good password is what makes your guest network secure and intact. Never use simple words like “guest123” or “password.” Always create a unique password with the mixing of uppercase and lowercase letters, numbers, and symbols so that unauthorised access can be stopped while providing safety for your guest network.
- Limit Access for Your Guests
Many of the TP Link routers allow you to limit what guests can access to increase security even further. You can restrict them from communicating with devices on your main network, thus preventing them from accessing shared files or printers, which might be rather inconvenient. Moreover, you would want to limit bandwidth to ensure that high data consumption by your guests would not slow down your primary network.
- Timer for Guest Network (if router supports this option)
Some routers also give you the option to set a time limit on your guest network. This comes in handy when you want your guests to be granted access only for a certain amount of time, like perhaps for a party or a meeting. The guest network automatically logs out once that time is over.
- Save Settings and Restart
Once you’ve installed the app, you’ll need to save your settings. The TP Link router will likely ask you to restart your device in order for these new changes to work. From then onward, your secure guest network will be fully ready to use.
With the TP Link router, you would be able to easily create a guest network, which ensures safety of your devices and data since you can still make it private but yet open up some controlled access to your guests. Of course, with all this ease, you could easily leave internet access open to your visitors without compromising the network security.


